CAT12 Tutorial #2: Downloading ADNI Data
Overview
The Alzheimer’s Disease Neuroimaging Initiative (ADNI) is a large, open-access database that contains hundreds of brain scans from both healthy controls and people with Alzheimer’s. In addition to imaging data, there are several covariates that have been collected for each subject: in addition to basic measurements such as age and years of attending school, there are measurements of cognitive ability, anxiety, depression, and genotypes, such as the presence or absence of the APOE4 allele.
The ADNI website.
To access the imaging data, click on Data & Samples, and then select Access Data and Samples. This will take you to the access page; scroll down and click on the button Apply for ADNI Data. You will be requested to accept the terms of using their data; select the I agree radio button, and then click Submit. You will be asked to provide your email address. Upon submitting your address, you will be sent a security code; copy and paste it into the security code field, and click Continue. Fill out the required details, including your name, degree, institution, and a short description of your proposed analysis. In this case, you can enter something like, “I will be analyzing morphometry differences between Alzheimer’s patients and control subjects”. Click “Continue”, and finish the rest of the application. It may take one to two weeks for your application to be reviewed and approved.
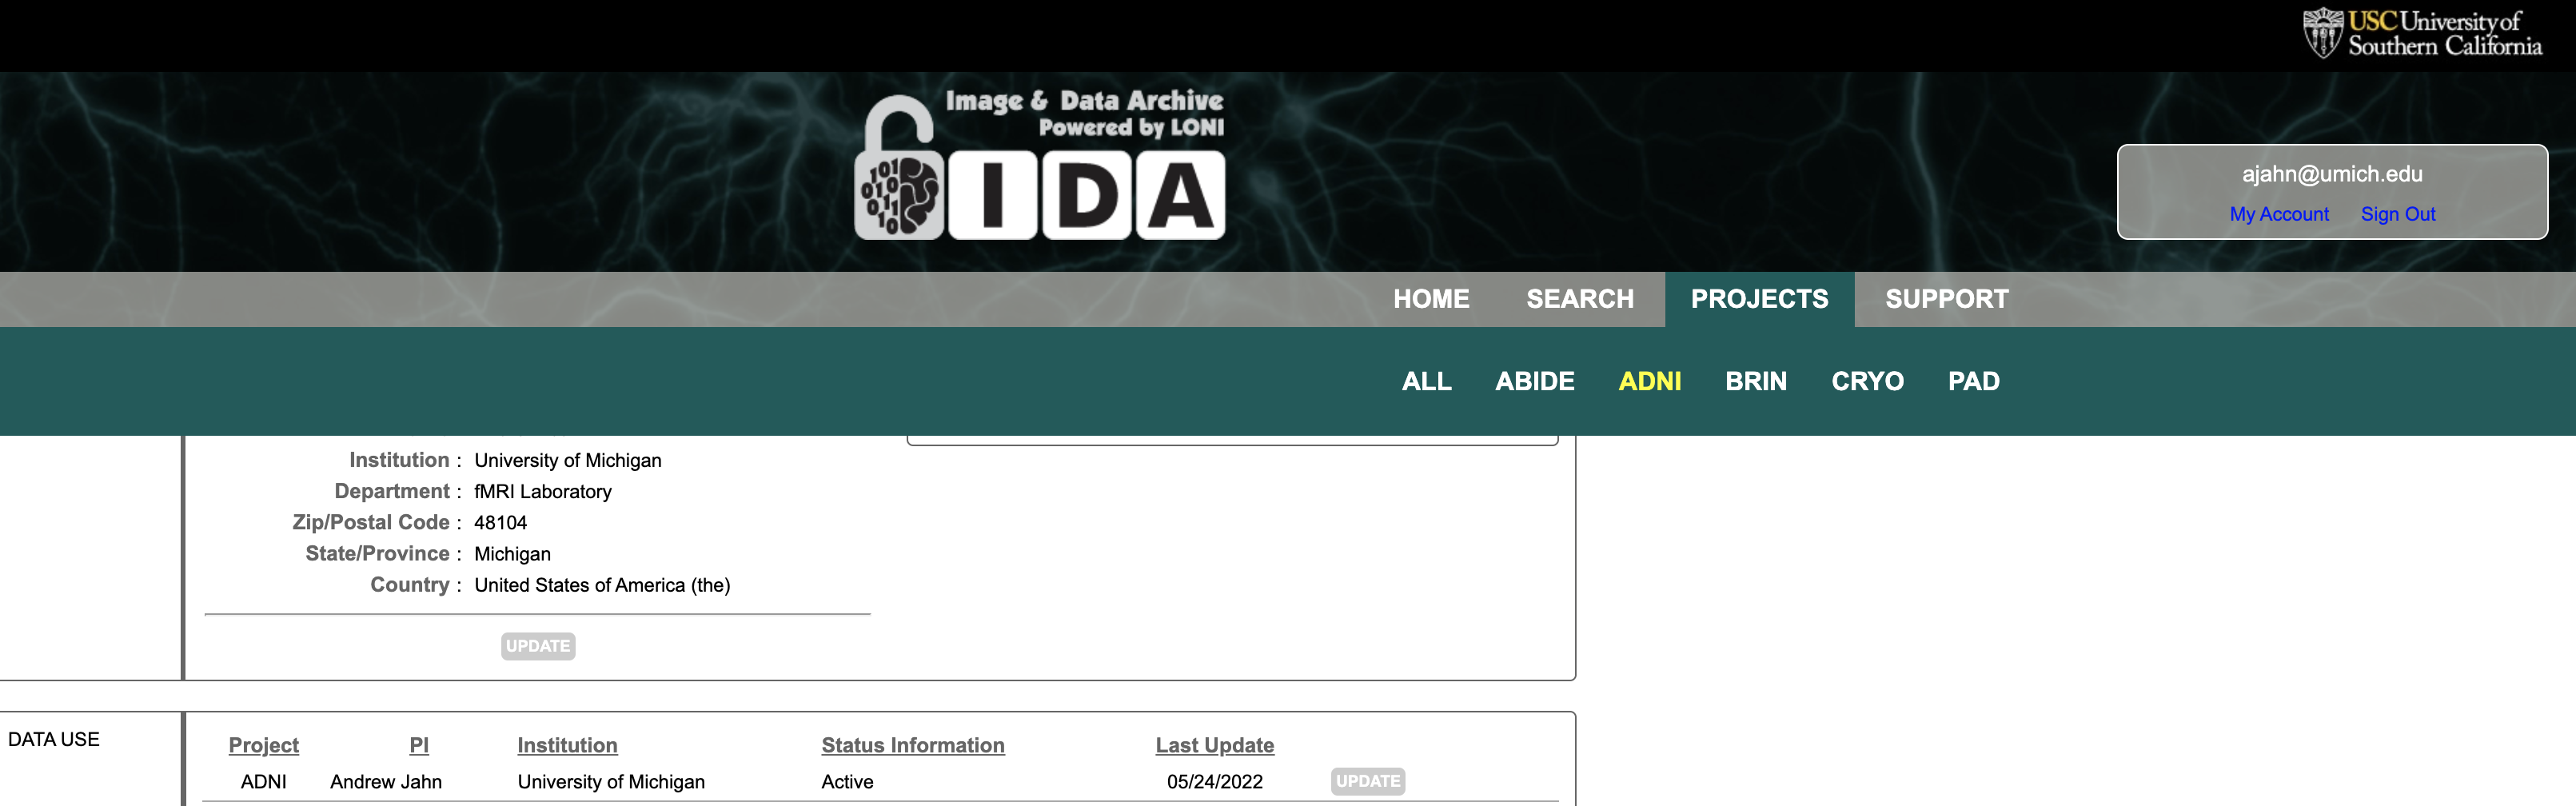
Once your application is approved, you will be given a link to the Laboratory of Neuroimaging (LONI) webpage. This webpage, hosted by the USC Mark and Mary Stevens Neuroimaging and Informatics Institute, contains the Image & Data Archive (IDA). You will be prompted to create a password; afterwards, whenever you visit the LONI website, click on the Login button at the top right of the page, enter your email address and password, and then go to My Account.
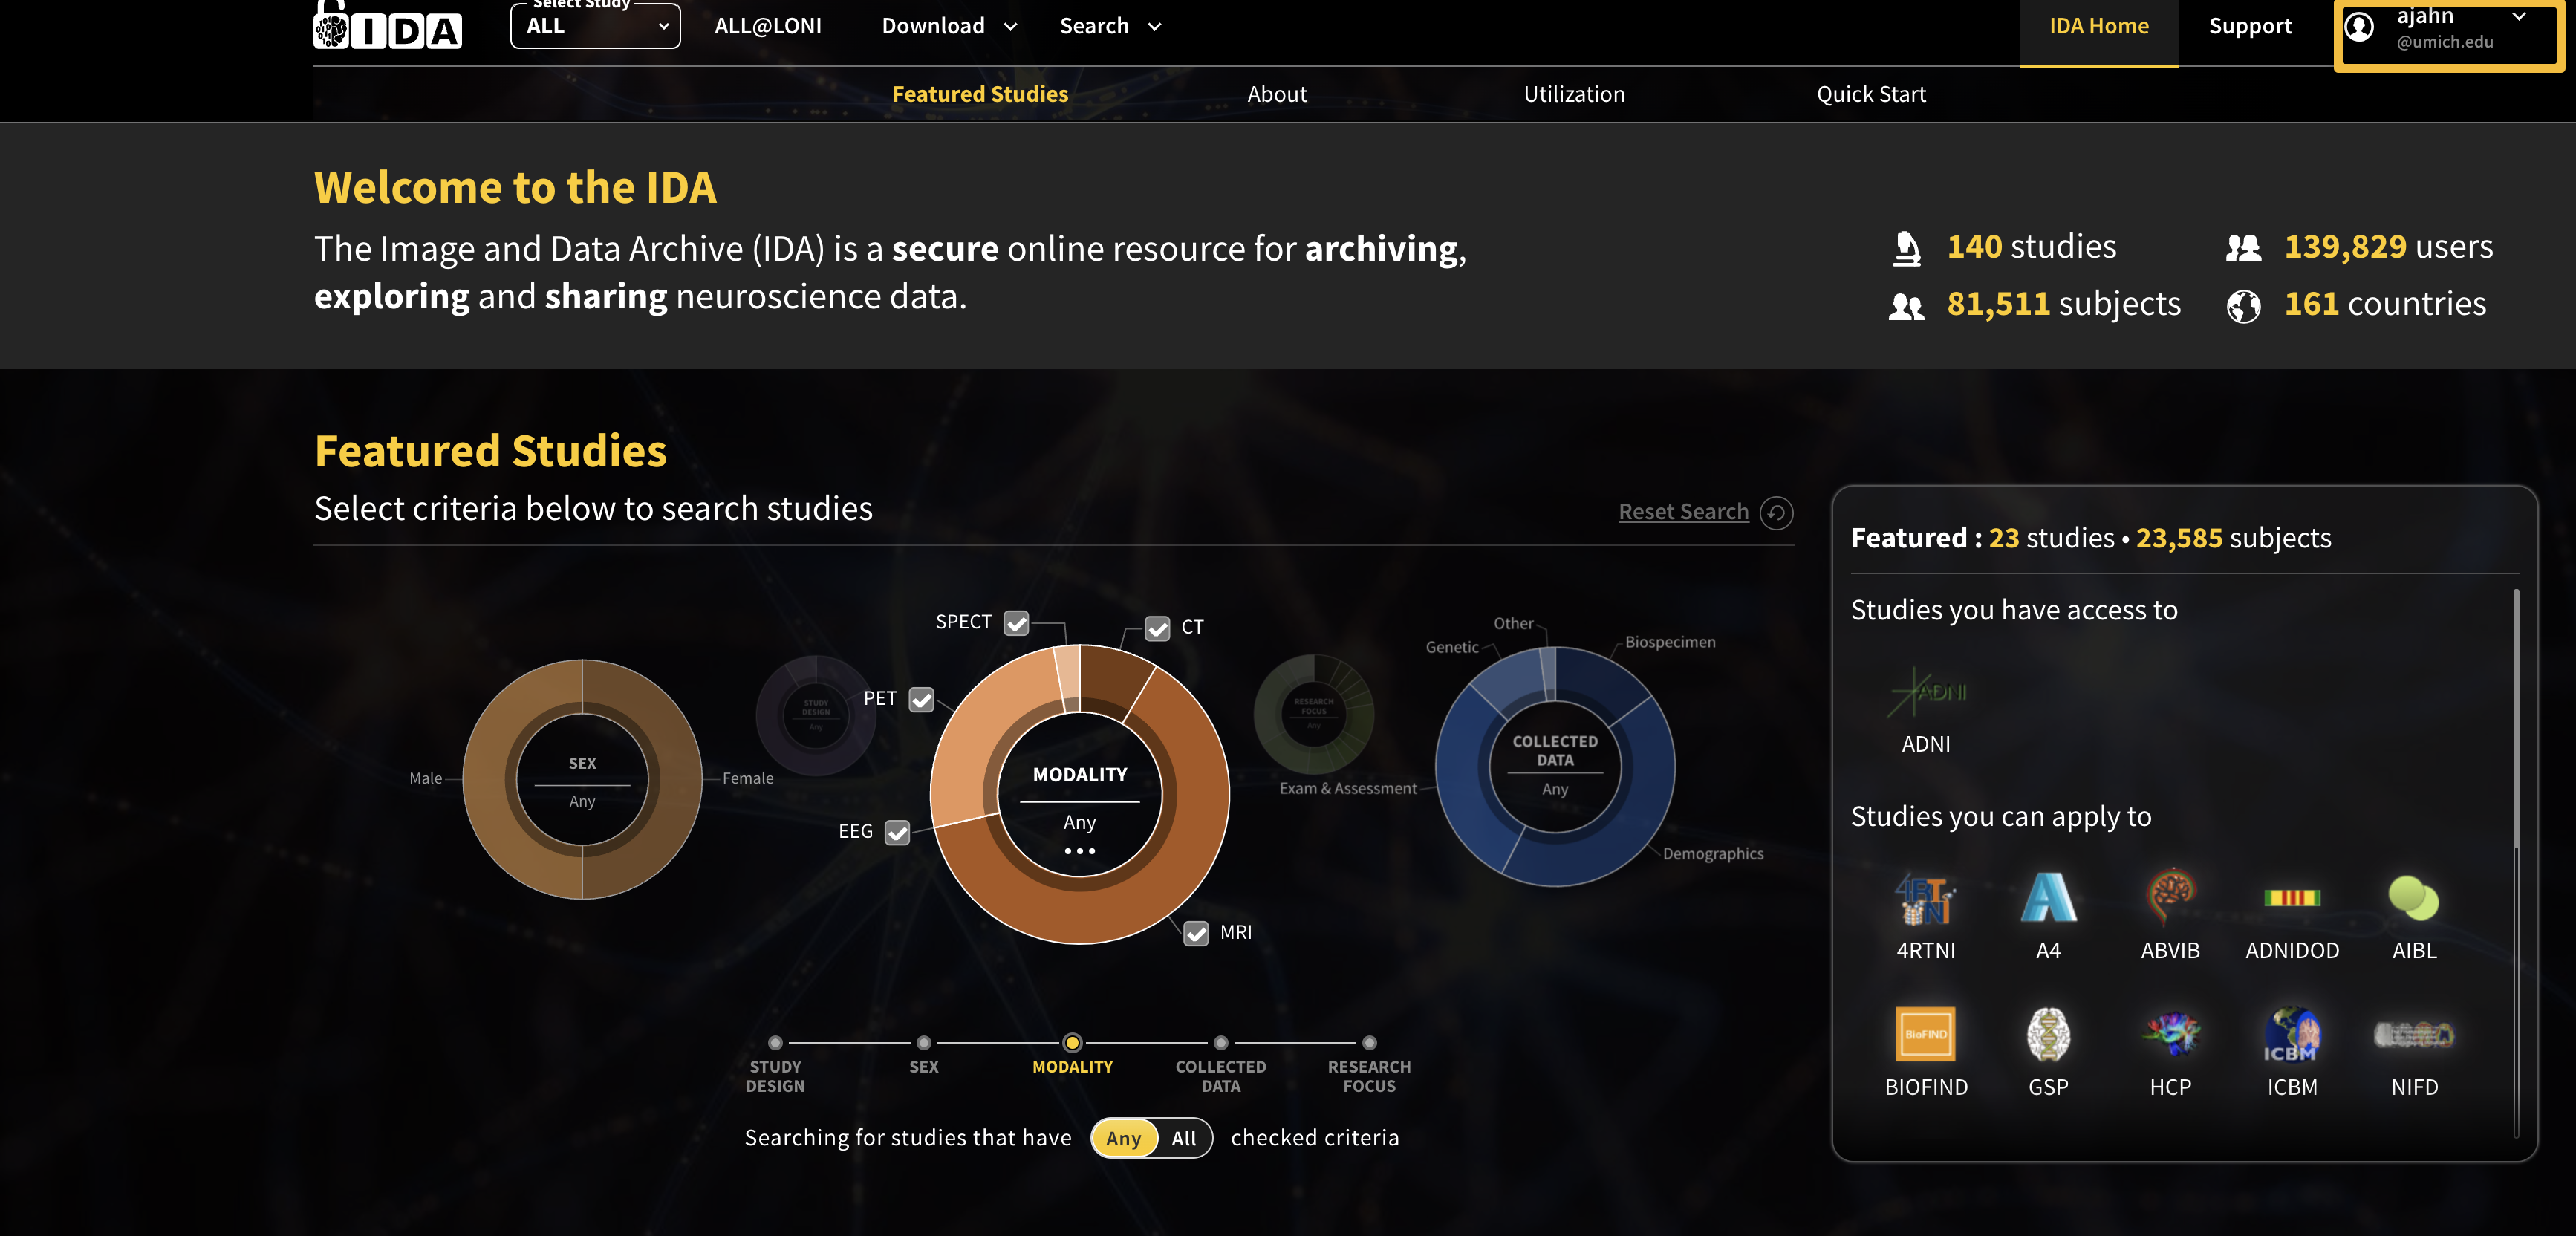
Your landing page on the IDA should look something like this, showing that you have access to the ADNI project. Click on Projects, and then click on ADNI.
You should now see the ADNI homepage, with graphs depicting the participant demographics. Click on the Download button, and then select Image Collections:
This will take you to the IDA Search page, with different tabs for Search, Advanced Search, and Data Collections. If you want to search for images, I recommend using the Advanced Search (beta) tab, which allows you to select different phases of the study, as well as specific imaging modalities, such as DTI or fMRI:
For instance, checking the boxes ADNI GO in the Project/Phase area, and MRI in the Modality field, would display a list of any image that was acquired as a structural MRI; this includes a typical MP-RAGE scan, as well as localizers and calibration scans. (You can click on the View button next to each image to open a viewer and scroll through the slices of the volume.) For now, we are only interested in the high-quality T1-weighted MRIs, which are the MP-RAGE images. Check the boxes next to the MP-RAGE image for Subjects 002_S_0685 and 002_S_0729, and click on Add to collection. You can enter a new name for it, such as MyCollection, and then access it from the Data Collections tab:
Instead of having to select all of the MP-RAGE images by hand, however, there are a few collections that have already been saved for you. In the Data Collections tab, in the Collections sidebar click on Other Shared Collections -> ADNI -> ADNI1:Baseline 3T; This will display a list of all the structural MRIs that were collected for this particular phase and magnetic field strength. In addition to demographic data such as Sex and Age, you will also see a column labeled Group, which contains an abbreviation for each category: In this case, AD means Alzheimer’s, and CN indicates a Control subject. Organize the data by group by clicking on the Group header, and then click the boxes next to the image for the first six AD subjects. Then scroll down and do the same for the first six CN subjects, avoiding any duplicates (e.g., skip the second instance of the subject ID ending in 0963). Once you have highlighted twelve subjects total, click on the button 1-Click Download. After a few seconds, you should see a new dialogue box appear; click on Zip File 1 to start your download. Downloading the data should only take a couple of minutes.
Once the download finishes, unzip the file ADNI1_Baseline 3T.zip. Then, open a Terminal, navigate to your Desktop, and create a new folder by typing mkdir CAT12_Tutorial. Within this folder, create two sub-folders, AD and CN. Using the download window as a guide, place the subjects ending with IDs 0963, 0369, 0413, 0304, 0061, and 1250 into the CN folder, and the rest into the AD folder. Next, you will notice that each of these subject folders contain several subfolders, before you reach the anatomical NIFTI image. Since these subfolders aren’t needed, move each of the NIFTI files to the each subject’s top folder by typing the following code from the CAT12_Tutorial directory:
for group in AD CN; do
  cd $group;
  for subj in `ls`; do
    mv $subj/*/*/*/*.nii $subj/$subj.nii;
    rm -r $subj/MPR*
  done
  cd ..;
done
When you finish, you should see something like this:
Now that your data is organized, you are ready to analyze it using the CAT12 toolbox. To get started, click the Next button.
Video
For a video demonstration of how to access the ADNI database and download anatomical images, click here.