ITK-Snap Tutorial #1: Infant FreeSurfer
Note
This tutorial assumes that you are already familiar with the basics of FreeSurfer and its terminology; if you haven’t used FreeSurfer, yet, please work through this tutorial before continuing. You will also need to download and install FSL (https://fsl.fmrib.ox.ac.uk/fsl/fslwiki/FslInstallation) in order for infant_recon-all to work.
Because infant brains are much smaller than adult brains, the typical FreeSurfer preprocessing steps won’t work properly. We will instead download a slightly different version of FreeSurfer called Infant FreeSurfer (or InfantFS for short), which can be download `here <https://surfer.nmr.mgh.harvard.edu/ftp/dist/freesurfer/infant/`_. Click on the distribution corresponding to your operating system; for this tutorial, I will be using the Macintosh OS version. Once you have downloaded and unzipped the file, move it to your home directory, and add the following code to your bash.rc start-up file:
export FREESURFER_HOME=~/freesurfer
source $FREESURFER_HOME/SetUpFreeSurfer.sh
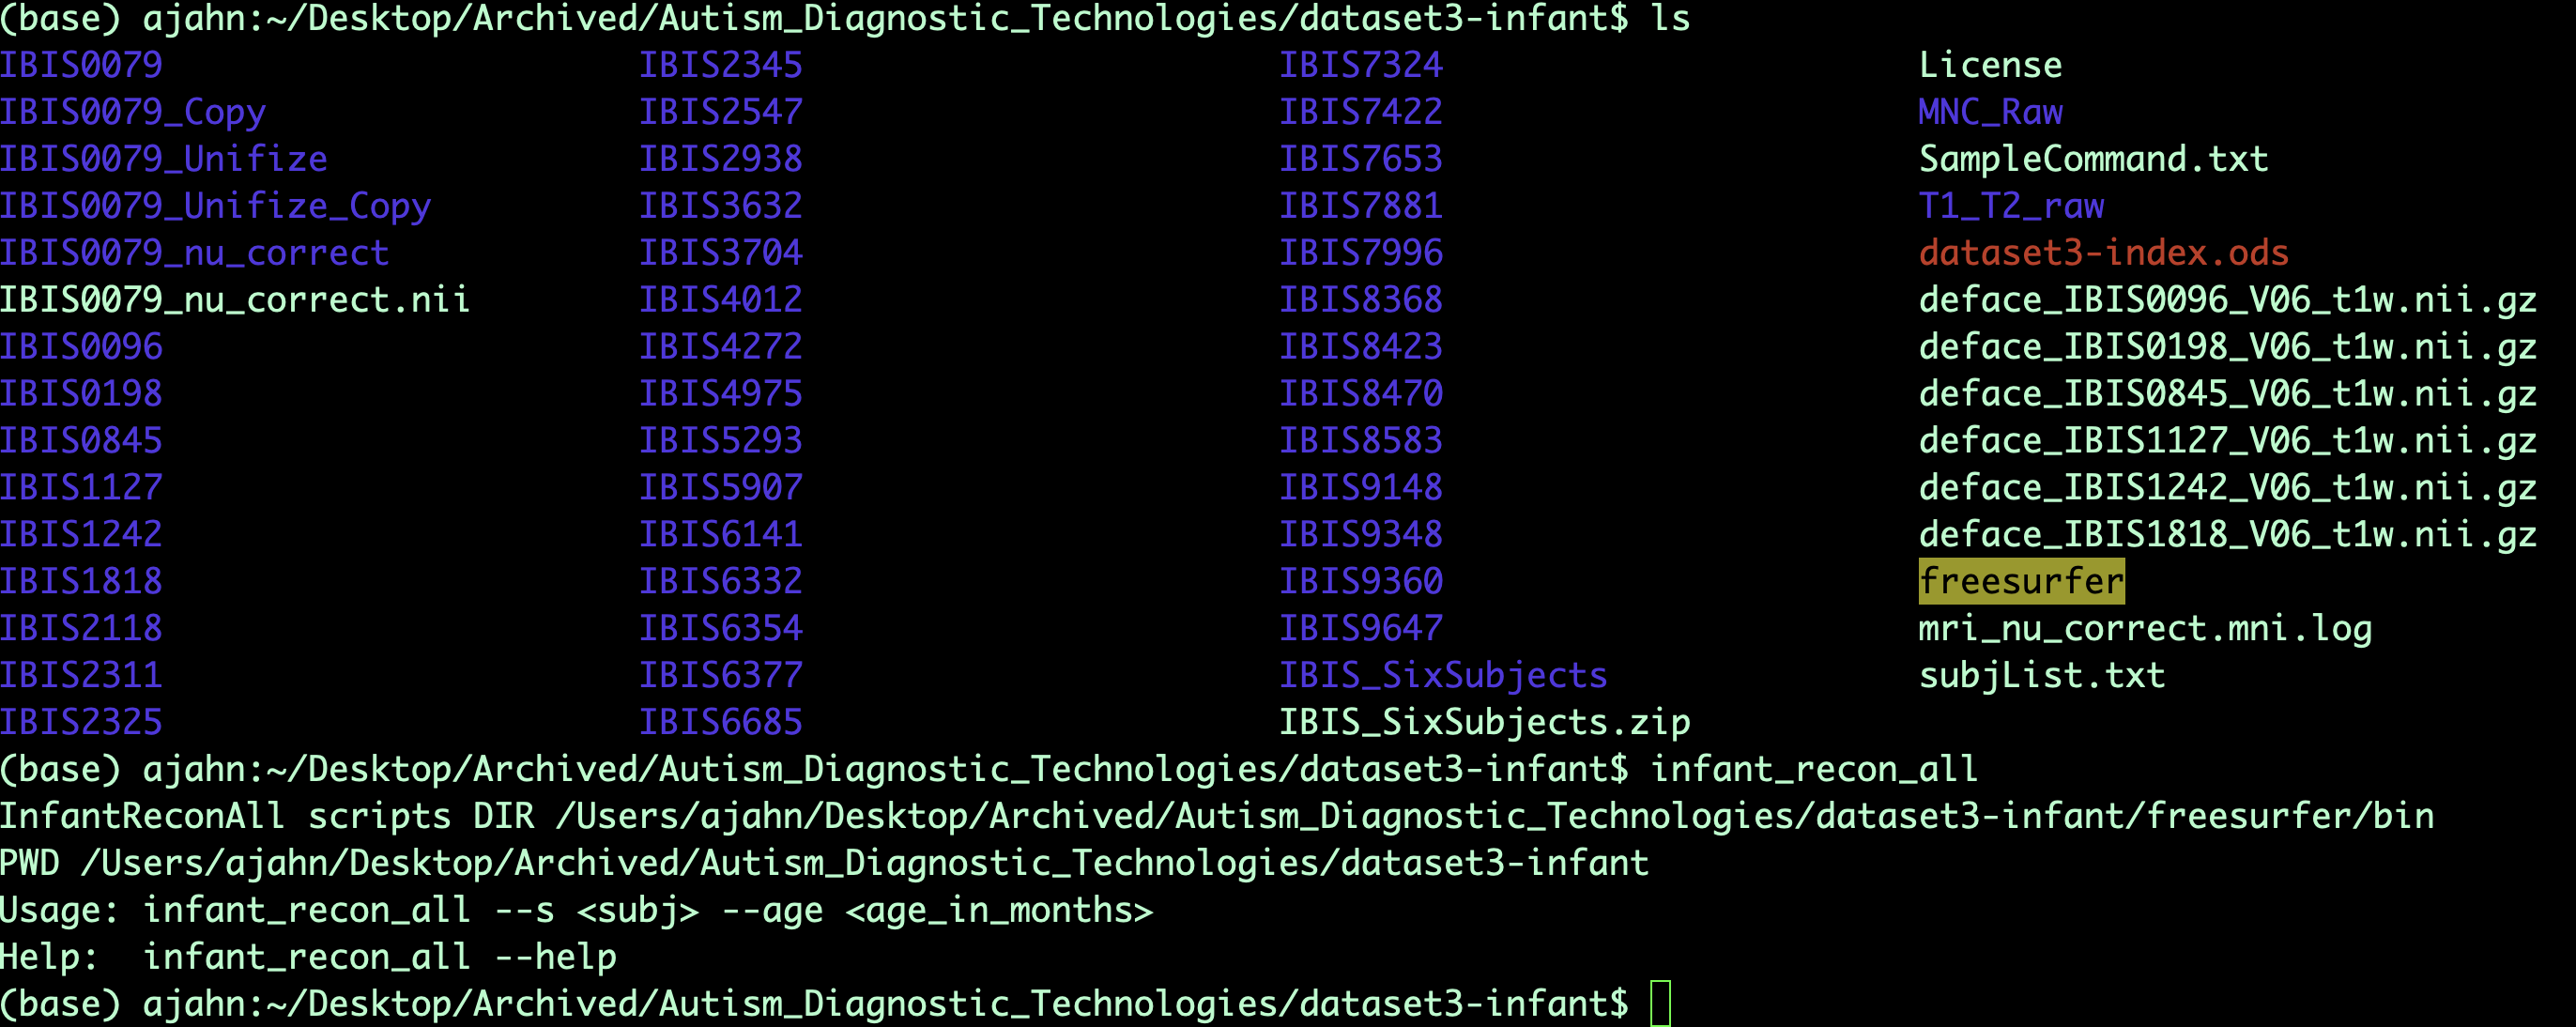
Once you have done this, you should have access to the InfantFS libraries. For example, if you type the command infant_recon_all from any directory in your terminal and press enter, it should return a list of the arguments needed to run the command:
Analyzing a Subject with infant_recon-all
The infant_recon_all command requires only two arguments: the name of the subject, and the age of the subject, in months. However, the data is required to be in a specific format before the command can be run. Assuming that we’re working with a six-month-old subject called deface_IBIS0079_V06_t1w.nii, we will first need to compress it:
gzip deface_IBIS0079_V06_t1w.nii
And then renamed to be called mprage.nii.gz:
mv deface_IBIS0079_V06_t1w.nii.gz mprage.nii.gz
Create a folder with the subject’s original ID, and then place the gzipped file in that folder:
mkdir IBIS0079
mv mprage.nii.gz IBIS0079
You can then run the recon-all command on the subject’s folder:
infant_recon_all --s IBIS0079 --age 6
And then the program will start to run. On my machine (a 2017 iMac with 32GB of RAM), this takes about two hours per subject.
Note
Make sure your SUBJECTS_DIR variable is properly set before analyzing the data. Wherever you store the subject’s data, go to that folder containing the subject folder, and then type SUBJECTS_DIR=`pwd`.
Note
If the contrast between the grey and white matter isn’t sufficiently high, InfantFS may not determine the correct boundary of the pial surface - that is, the outer surface of the cortex. InfantFS has a built-in contrast enhancer, but sometimes this is not enough. I have found that AFNI’s 3dUnifize helps to increase the contrast and improve the surface output from Infant FS. It can be run by typing 3dUnifize -prefix deface_IBIS0079_V06_t1w_Unifized.nii -input deface_IBIS0079_V06_t1w.nii.
Looking at the Output
Once infant_recon_all finishes, you should examine the output to make sure it did an adequate job of both segmenenting the different cortical and subcortical regions, and of reconstructing the cortical surfaces; in particular, the pial surface and the boundary between the grey and white matter.
You can view the outputs using Freeview, FreeSurfer’s image viewer. You can either open it from the command line by typing freeview, or you can load the skull-stripped brain image, the cortical and subcortical segmentations, and the pial surfaces by navigating into the subject’s output directory (in this case, the folder IBIS0079), and typing the following:
freeview -v mri/orig.mgz mri/aseg.mgz:colormap=LUT -f surf/lh.pial:edgecolor=yellow surf/rh.pial:edgecolor=yellow
You should see something like this:
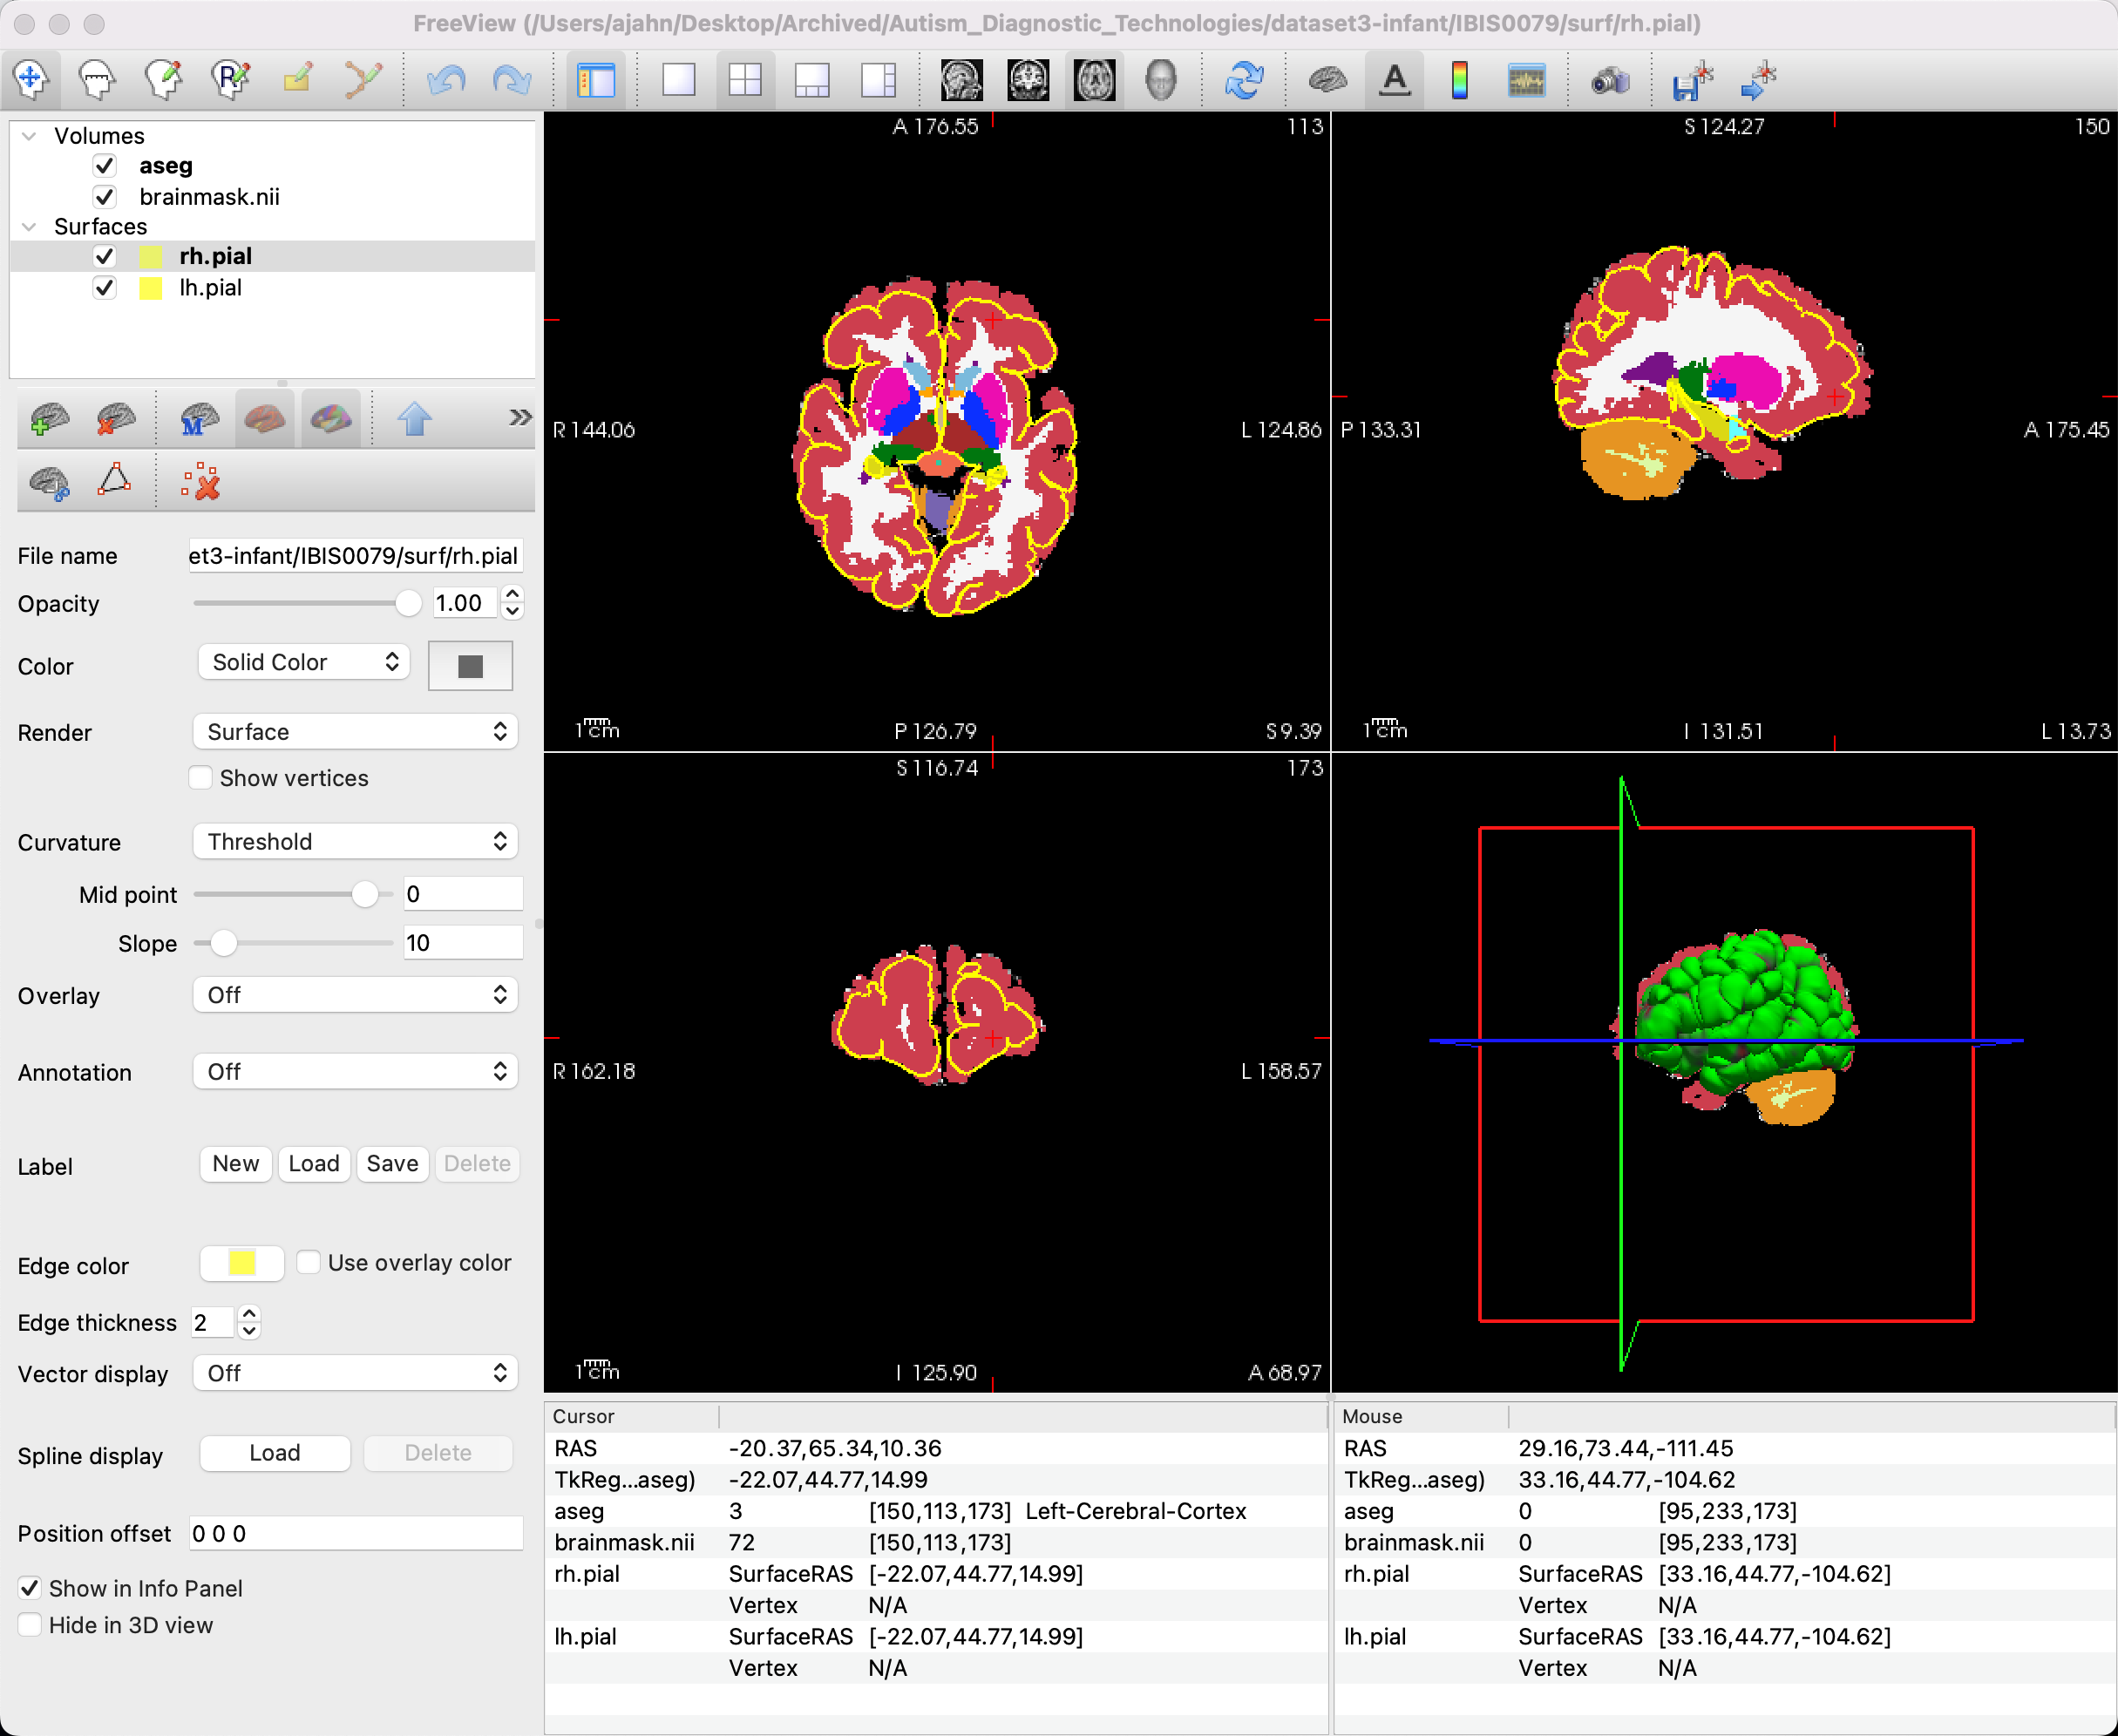
Most of the segmentation seems correct in this image, but note that there are parts of the brain that do not seem to have the pial surface accurately trace the edges of the brain, especially in the frontal areas. In order to correct this, we will have to do manual segmentations through another program called ITK-SNAP. To see how to do that, click the Next button.