E-Prime Tutorial #2: Objects
Overview
Objects are the building blocks of an experiment. Every E-Prime experiment is built upon the idea of object-oriented programming, which means that the user selects pre-designed objects from the E-Prime toolbox, and then arranges and modifies them to create an experiment.
In computer programming, the concept of objects is similar to the objects you hold and manipulate in everyday life. The keyboard I use to type this tutorial is an object: It is white, rectangular, made of plastic, contains several keys, and weighs only a couple of pounds. By itself, the keyboard doesn’t do anything, but pressing the keys makes text appear on the screen.
Using the keyboard as a concrete example, we can discuss how the abstract objects in E-Prime have similar properties and methods. Properties are descriptors of an object - for example, shape, color, and size. Methods are actions performed by the object, such as terminating after a button response. By modifying these basic elements we can create an experiment, similar to how bricks and cement are used to construct a building.
E-Objects
The abstract objects in E-Prime are called E-Objects, which can be found in the Toolbox sidebar. If you double-click on the SessionProc object, you will see the Experimental Timeline; drag and drop a few TextDisplay objects onto the timeline, which can be rearranged in any order you wish.
The ordering doesn’t matter though, because right now the TextDisplay objects don’t contain anything. The objects do have some default properties - for example, the background of the object is white, and they are displayed for 5000 milliseconds - but we haven’t changed any of their properties yet. To change the name property, for example, you can right-click on the object, select “Rename”, and call the object something else - such as, “Welcome”.
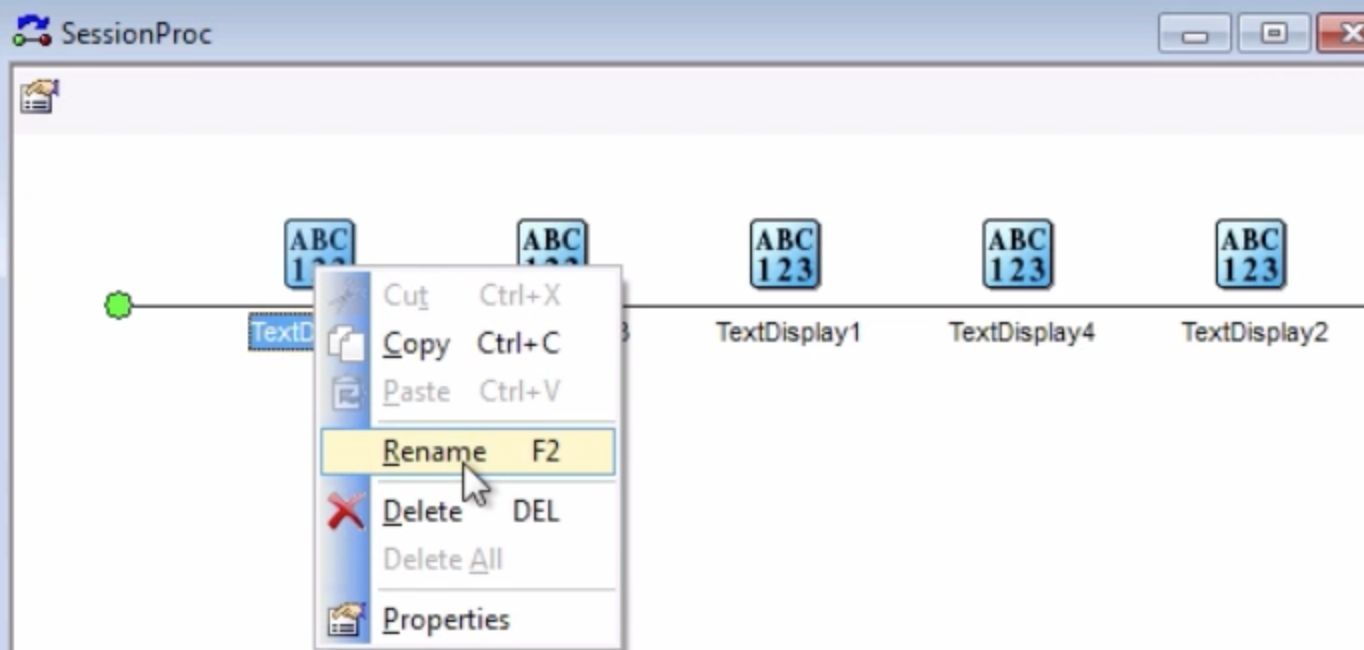
If you want to remove an object from the timeline, but still have it at hand in case you need it later, right-click on the object and select “Delete”. This will move the object to the Unreferenced E-Objects part of the Structure sidebar. If you want to replace it on the timeline, simply click and drag it back; otherwise, you can permanently delete the object by right-clicking on it again and selecting “Delete”.
Changing the Text
To change what the “Welcome” object will display to the subject, simply double-click on it and type in the textbox. In this example, let’s write “Welcome to the experiment!” An introduction like this lets the subject know that the experiment is about to start, and that he can wait here until he is ready to proceed.
What if we want to change other aspects of the text, such as font size or color? More options can be found in the Properties tab, which is the icon with the hand pointing to a card. Click on it, and then select the “Font” tab. The Point Size can be changed from a default of 18 to something else, such as 24. You can also try out different font types, although you should be careful not to choose a type that is distracting or annoying.
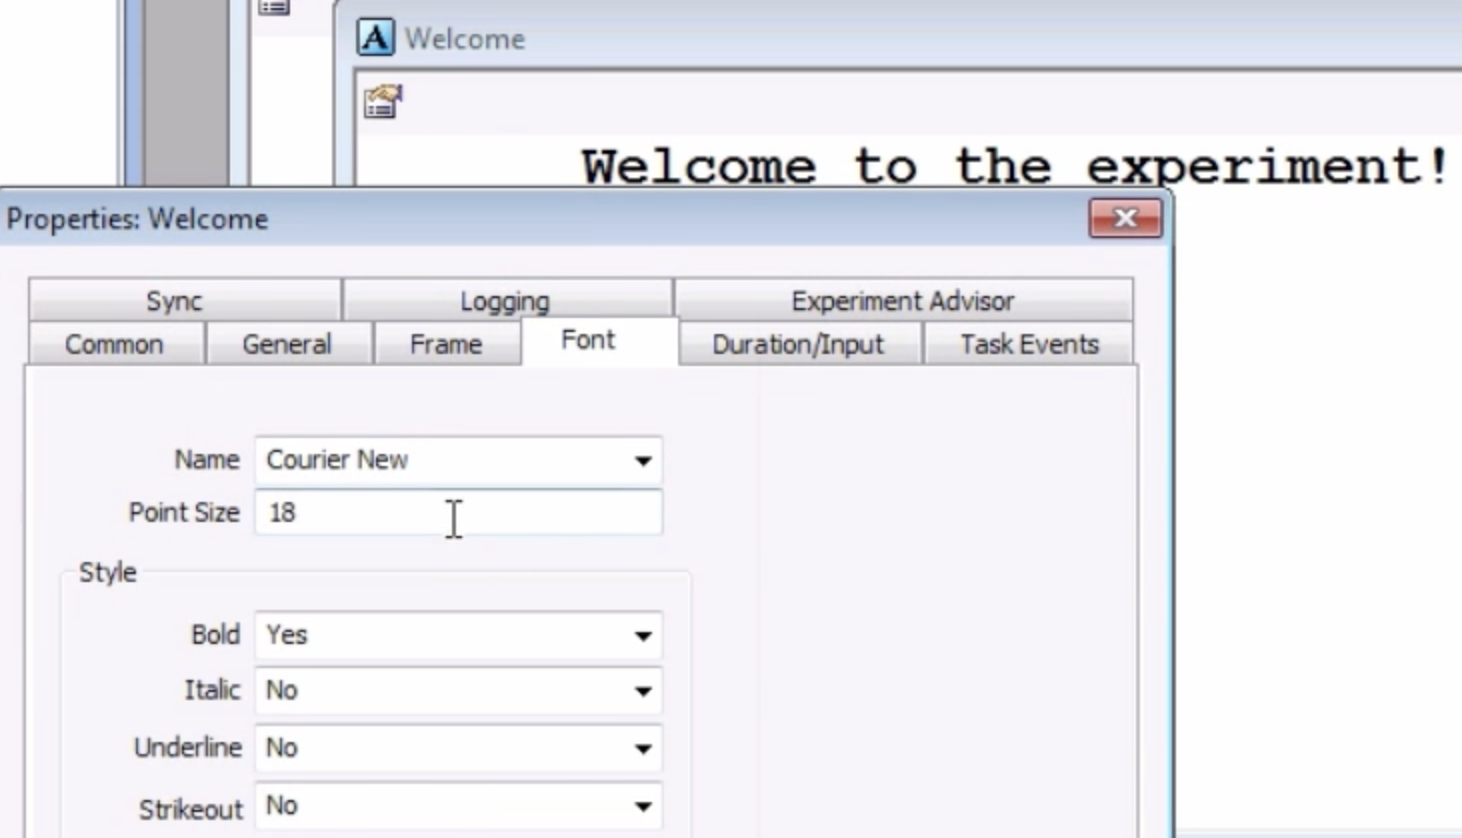
Example of the Properties page of an object. There are several tabs that allow you to change properties such as font color, font size, and the background color of the object.
Exercises
Click on different tabs and see whether changing them leads to any observable changes in the Text Object. What do you think the “Frame” tab contains? What about “General”? Select the Frame tab from the Welcome TextDisplay Object, and change the Width and Height to 10%. What happens when you run the experiment?
Click and drag some other objects onto the timeline, such as Slides and ImageDisplay Objects, and examine what properties you can change. As you use E-Prime more, you will use some objects and properties more than others; for now, though, see what commonalities there are between the objects, and which properties you think you will be changing the most often.
Right click on any object in the Toolbox sidebar, and select “Toolbox Defaults”. Select the TextDisplay Object and change the BackColor property to Black and the ForeColor property to White. Click Save. What happens when you click and drag a new TextDisplay object onto the timeline?
Next Steps
The next tutorial will focus on the more versatile Slide object, as well as more advanced properties that give you greater control over your objects. Once these fundamentals are mastered, it becomes easier to build an experiment that more precisely suits your needs.
Video
To see how objects are created and modified in E-Prime, see this video.